
🌀 Hurricane Prep Checklist for Your Roof
- ✓ Schedule professional inspection in April or May — before season starts
- ✓ Repair or replace any lifted shingles immediately — they will fail first
- ✓ Clear all gutters and downspouts for maximum water drainage
- ✓ Trim overhanging tree branches — live oaks and pines cause major damage
- ✓ Document your roof with photos now for insurance purposes
Spring 2026 Outlook — Why This Year Matters
The 2026 Atlantic hurricane season opens June 1. Two factors make pre-season prep especially important for Savannah this year:
- Cumulative wear from the active 2025 season — homes that appeared to survive 2025 unscathed may carry hidden damage that fails under 2026 wind loads.
- Named-storm deductibles are now standard on most Coastal Georgia policies — meaning a "small" hurricane claim can carry a $5,000–$15,000 out-of-pocket cost. Pre-season repairs are dramatically cheaper than deductibles.
If your roof is more than 12 years old, also see Should you replace before hurricane season? — a financial framework for the replace-vs-prep decision.
Atlantic hurricane season runs June 1 through November 30. For Savannah homeowners, meaningful preparation starts in April — not the week a storm is forecast. The difference between a roof that loses 3 shingles in a Category 2 hurricane and one that loses 40 usually comes down to maintenance decisions made months before landfall.
Step 1: Professional Inspection (April-May)
A pre-season professional roof inspection is the most valuable hurricane prep action you can take. We look specifically for vulnerabilities that become failures in 80-100 mph winds: lifted shingle edges, compromised ridge cap fastening, loose flashing at chimneys and penetrations, and any areas where the adhesive seal strips have failed. Addressing these costs a fraction of storm damage repair.
Step 2: Address All Lifted or Loose Shingles
This is critical. Any shingle with a broken seal strip is already experiencing minor lifting in normal wind. In hurricane-force winds, these become the starting point for progressive shingle loss — once one shingle peels back, it creates a wind pocket under the adjacent shingles, accelerating the cascade. Repair before the season, not after.
Step 3: Gutters and Drainage
The rainfall that accompanies a hurricane can reach 10-15 inches in 24 hours. Clogged gutters overflow backward against the fascia and roof deck edge, saturating wood that is not designed to handle standing water. Clean gutters and check downspout extensions before storm season.
Step 4: Tree Trimming
Savannah's live oaks are beautiful and add significant property value, but overhanging branches represent both direct impact risk and debris accumulation risk. The rule of thumb: no branches should extend over the roof surface. An arborist visit in April is cheaper than a branch-through-roof repair in August.
Step 5: Insurance Documentation
Take comprehensive photos of your roof each spring. These establish pre-storm condition documentation, which proves invaluable if you need to file a claim. See our complete insurance claim guide to understand how to document properly.
Pre-Hurricane Season Inspection
Book now before hurricane season. Schedule fills fast in April and May.
Complete Hurricane Roof Preparation Checklist for Savannah Homeowners
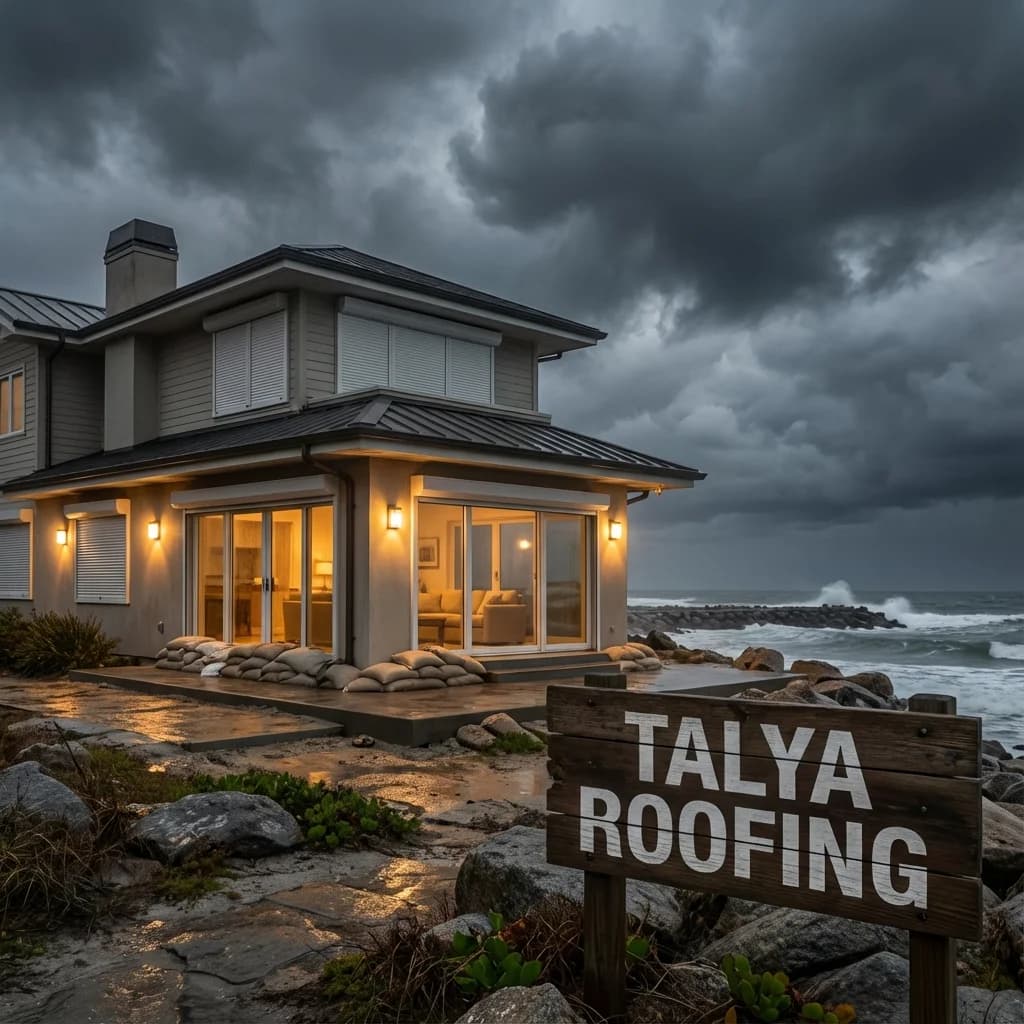
With Savannah sitting directly in the Atlantic hurricane corridor, preparing your roof before storm season isn't optional — it's essential home defense. This checklist covers everything from pre-season preparation (May) through active storm response, tailored specifically for the Coastal Georgia region.
Pre-Season Preparation (May - Early June)
| Task | Priority | DIY or Pro? | Est. Cost |
|---|---|---|---|
| Professional roof inspection | Critical | Pro | $150-$250 |
| Repair any missing/damaged shingles | Critical | Pro | $200-$800 |
| Seal all flashing and penetrations | High | Pro | $300-$600 |
| Clean all gutters and downspouts | High | DIY | $0-$150 |
| Trim trees within 10ft of roof | High | Pro | $200-$800 |
| Check attic for existing leaks | Medium | DIY | $0 |
| Verify insurance coverage is current | Critical | N/A | $0 |
| Document roof condition with photos | High | DIY | $0 |
When a Storm Is Forecast (48-72 Hours Out)
Once the National Hurricane Center issues a tropical storm or hurricane watch for the Savannah area, shift from preparation to protection mode:
- Secure or remove loose rooftop items: Satellite dishes, antennas, solar panel mounting brackets that aren't permanently fastened, and any rooftop decorations.
- Apply emergency sealant: If you know of any vulnerable flashing points or previous leak locations, apply roofing cement or emergency sealant as a temporary measure.
- Clear all drainage: Ensure gutters, downspouts, and ground-level drainage are completely clear. Hurricane rain volumes (5-15 inches in 24 hours) overwhelm clogged systems instantly.
- Move vehicles under covered parking: Falling debris and hail can damage vehicles, and a damaged car adds to your post-storm problems.
- Prepare interior protection: Move valuables away from exterior walls and windows. Place waterproof containers under known vulnerable ceiling areas.
- Stage emergency supplies: Blue tarps (minimum 20x30 ft), 2x4 lumber, roofing nails, battery drill, flashlights, and a waterproof camera or phone for documentation.
Immediately After the Storm
Wait until conditions are safe (sustained winds below 40 mph, no active lightning), then begin your assessment:
- Document everything before touching anything: Walk the entire perimeter of your property photographing all visible damage from multiple angles. Include wide shots and close-ups. These photos are critical for insurance claims.
- Check interior first: Go into the attic (if safe) and look for active leaks, daylight through the deck, or displaced insulation. Check ceilings in every room for new water stains.
- Emergency tarping: If you see open areas on the roof, apply emergency tarps immediately. Weight the edges with 2x4 lumber — do NOT nail through the tarp into the roof deck, as this creates additional penetrations.
- Contact your insurance company: File the initial claim within 24 hours. Provide your photo documentation and a description of visible damage.
- Schedule a professional inspection: Contact a licensed local roofer (not a storm chaser) for a thorough damage assessment. At Talya Roofing, we provide free post-storm inspections for Savannah homeowners.
Understanding Savannah's Wind Zone Requirements
Savannah's location requires roofing materials rated for 115-130 mph wind speeds (depending on specific location within the metro area). If your roof is older and was installed under previous code requirements (which specified lower wind ratings), a hurricane may expose these vulnerabilities. Consider upgrading to current code-compliant materials during any post-storm repair — your insurance company may cover the upgrade cost if damage is documented.
Post-Hurricane Inspection Checklist
Once the storm passes and conditions are safe (sustained winds below 40 mph, no active lightning, and no downed power lines near your property), it is time to assess your roof's condition. Here is a systematic checklist for Savannah homeowners to follow after any hurricane or tropical storm.
Ground-Level Walkabout (Do This First)
- Walk the full perimeter of your home: Look for shingles, ridge cap pieces, or flashing on the ground, in the yard, or caught in landscaping. Photograph every piece of debris from your roof.
- Check gutters and downspouts: Look for dented, bent, or detached sections. Excessive granules in the gutters (they look like coarse black sand) indicate shingle surface damage even if shingles appear intact from the ground.
- Examine siding and windows: Dents, cracks, or broken screens suggest wind-driven debris that likely also struck the roof.
- Inspect outdoor AC units: Dented condenser fins and housing are a reliable indicator that hail hit your property — and if hail hit the AC, it hit the roof.
- Look for fallen branches on or near the roof: Even branches that bounced off may have caused damage to shingles or flashing on impact.
Interior Inspection
- Check every ceiling in the house: Look for new water stains, bubbling paint, or damp spots. Water can travel along rafters and appear far from the actual roof penetration point.
- Inspect the attic: If you can safely access it, look for daylight coming through the decking, wet insulation, active dripping, or new staining on rafters and decking undersides.
- Check around skylights: Skylight seals are vulnerable to wind pressure changes during hurricanes. Look for moisture on the frame, glass, or surrounding drywall.
- Test light switches and outlets on top-floor exterior walls: If they feel warm, spark, or do not work, water may have entered the wall cavity from a roof breach — call an electrician before a roofer.
Roof Surface (Binoculars or Drone — Do Not Climb)
After a hurricane, never climb onto a roof without professional equipment. Use binoculars from the ground or a consumer drone to check for:
- Missing shingle sections or exposed underlayment/decking
- Displaced or lifted ridge cap shingles along the peak
- Bent, lifted, or missing flashing at chimneys, vents, and walls
- Debris accumulation in valleys that could trap water
- Any sagging or deformation in the roof surface that was not there before
When to Call a Professional
Some post-hurricane situations require immediate professional attention. Do not attempt to address these yourself — the risk of injury and further property damage is too high.
Signs That Need Immediate Professional Attention
- Active water intrusion: Water entering the home during or immediately after the storm means the roof's weatherproofing has been breached. Emergency tarping must be done by someone with proper equipment and training on a potentially compromised structure.
- Visible structural damage: Any sagging in the roof line, displaced rafters visible through attic access, or areas where the roof deck has lifted or buckled indicate structural compromise. Do not walk on these areas.
- Large sections of missing shingles: If 100+ square feet of shingles are missing, the underlayment and decking are exposed to the elements and deteriorating rapidly. Professional tarping and assessment should happen within 24 hours.
- Tree impact damage: Savannah's live oaks and pines cause significant roof damage during hurricanes. Any branch penetration — even a small one — creates a pathway for water and requires professional assessment of the structural integrity beneath the impact point.
- Displaced flashing at chimneys or walls: Flashing that has pulled away from its mounting surface cannot be effectively resealed as a DIY fix. The entire flashing system at that location likely needs professional reinstallation to prevent ongoing water intrusion.
The 24-Hour Documentation Rule
Before any professional work begins — even emergency tarping — photograph and video everything. Walk the perimeter, shoot from multiple angles, and capture both wide context shots and close-up detail. This documentation is critical for your insurance claim. Georgia insurers expect prompt documentation, and adjusters rely heavily on homeowner photos taken before any temporary repairs alter the scene.
Choosing the Right Professional
After every major hurricane, storm chasers flood into Savannah from out of state. Protect yourself by choosing a local contractor with an established presence. Verify their Georgia contractor license, ask for proof of insurance, and never sign a contract or pay money before the adjuster has inspected. At Talya Roofing, we provide free post-storm inspections across all of Chatham County and handle the entire insurance claims process on your behalf — from initial documentation through supplement filing and final payment.