
When a homeowner in Savannah calls us about a mysterious brown water stain appearing on their bathroom or hallway ceiling, our first suspicion is almost never a failed shingle. Over 50% of the time, the culprit is a $15 piece of rubber that has failed: the plumbing vent boot.
Vents (those white PVC pipes sticking out of your roof) allow sewer gases to escape and air to enter your plumbing so drains flow smoothly. The "boot" (or pipe flashing) is a rubber collar that seals the gap between the pipe and the shingles. Under Coastal Georgia's intense UV rays, typical neoprene or rubber boots dry rot, crack, and violently fail in just 7 to 10 years, long before the 25-year shingles around them go bad. Here is how to identify and repair this insidious leak.
☔ Identifying a Vent Boot Leak
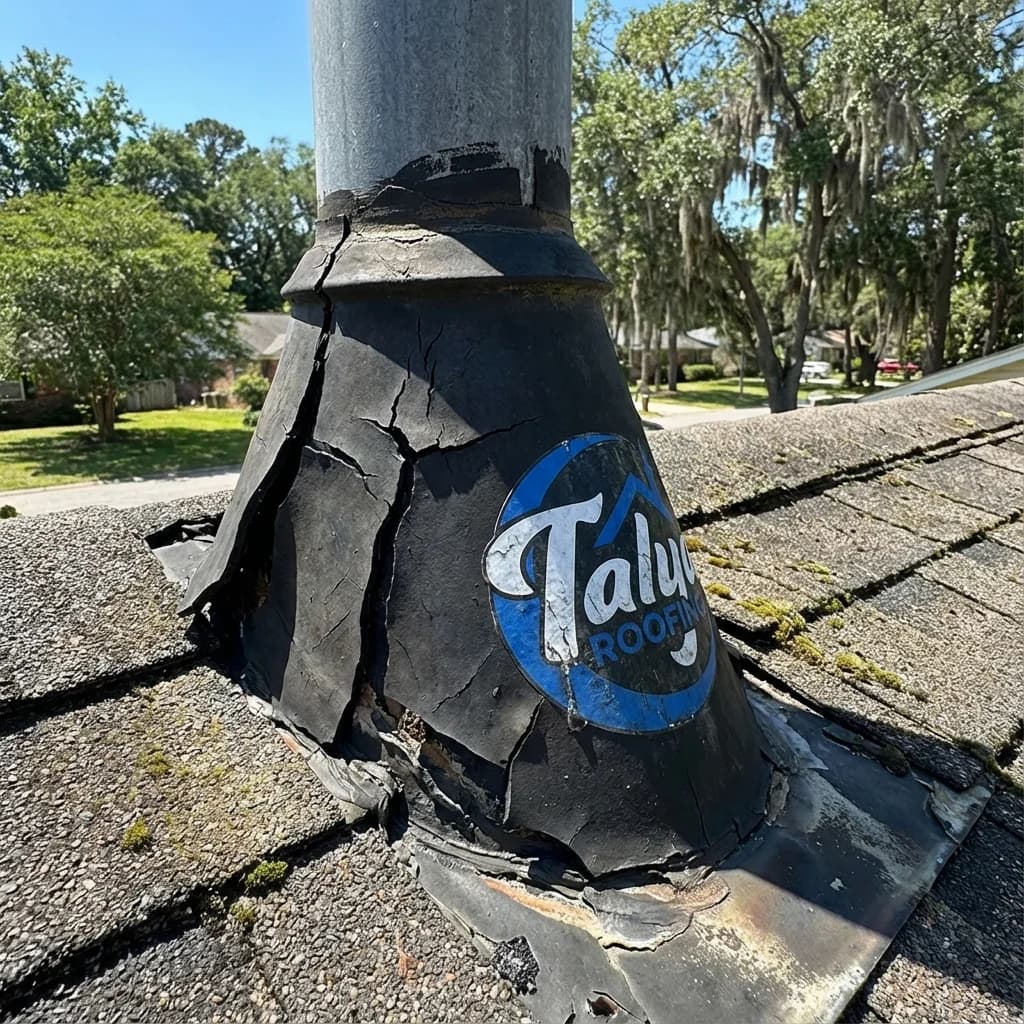
- ✓ Visual inspection: If you safely get on your roof and the black rubber collar ringing the white pipe is cracked, rigid, or peeling away, water is pouring straight down the exterior of that pipe.
- ✓ Attic inspection: If you see water streaks running down a PVC pipe in the attic, the boot has failed.
The Temporary Fix: Perma-Boot or Retro-Fit Collar
If you catch a leak before a major rainstorm, replacing the entire flashing integration requires professional shingle removal. However, a fantastic DIY solution exists that requires zero shingle manipulation: sliding a temporary/retrofit collar over the failed rubber.
Things You Will Need:
- A replacement rubber collar (Rain-Collar or similar brand). Check your PVC pipe diamater first (usually 2" or 3").
- Alternatively, a "Perma-Boot" (a rigid plastic shell that slides entirely over the pipe).
- Polyurethane roofing sealant.
- A putty knife.
The 3-Step Retrofit Process:
- Clean the Pipe: Wipe down the exposed top of the PVC pipe and the surrounding dry-rotted rubber. You cannot cleanly attach new rubber over debris and peeling paint.
- Slide on the New Collar: Take the tight, new rubber retrofit collar and slide it firmly down the PVC pipe until it sits securely flush directly over top of the old, cracked rubber boot. Because it assumes a tight pressure-fit on exactly your sized pipe, it instantly re-seals off the crack.
- Final Seal: To be absolutely secure, run a bead of polyurethane exterior roofing sealant around the top rim where the new rubber meets the PVC pipe, just in case the pipe exterior has deep scratches from weathering.
The Permanent Replacement (Why You Usually Need a Pro)
A retrofit collar is a fantastic stop-gap that will buy you 1-3 years of dry ceilings. However, if the metal flange of the old boot is rusted, or if water has already started rotting out the plywood decking underneath the boot, a complete replacement is mandatory.
Replacing the entire boot assembly requires prying up the top overlapping structural shingles (breaking the factory seals), stripping out the old metal base, sliding a new aluminum/lead/rubber boot under the top shingles, and over the bottom shingles, and safely re-adhering everything to resist hurricane-force winds. This complex layer-weaving is why calling for a professional roof repair is highly recommended for permanent peace of mind in Savannah.
| Repair Strategy | Longevity | Difficulty Level |
|---|---|---|
| Rubber Retrofit Collar | 1 to 3 Years | Low (Simple slide-over) |
| Perma-Boot Hard Shell | 5 to 10 Years | Medium (Requires sealant logic) |
| Full Lead Boot Replacement | Life of Roof (25+ Yrs) | Pro Only (Shingle destruction risk) |
Frequently Asked Questions
Why does an old roof always seem to leak in the bathroom?
Because almost all bathroom setups require a 2-inch or 3-inch PVC vent pipe punching directly through the roof straight above the shower/sink. When that rubber boot cracks in the sun, water drops directly down the side of that pipe onto your bathroom drywall.
Can squirrel damage cause this?
Yes. In Richmond Hill and forested Savannah neighborhoods, squirrels are notorious for gnawing on the soft lead coverings of premium vents to sharpen their teeth, eventually opening holes for water entry.
Step-by-Step Vent Boot Inspection Guide
Cracked rubber vent boots are the single most common cause of small, persistent roof leaks in Savannah homes. The rubber gaskets around plumbing vent pipes deteriorate from UV exposure and thermal cycling, typically failing after 8-12 years — well before the surrounding shingles need replacement.
Inspection Method
From the attic, shine a flashlight at each vent pipe penetration during daylight hours. Look for water staining on the pipe itself or on the surrounding decking. From the roof surface, inspect the rubber boot for cracks, especially where it meets the pipe. Press the rubber — if it's stiff and doesn't flex, it's due for replacement regardless of visible cracking.
When to DIY vs. Call a Pro
| Situation | DIY? | Reason |
|---|---|---|
| Cracked boot, roof under 6:12 pitch | Yes | Safe access, straightforward repair |
| Boot on steep slope (8:12+) | No | Fall risk too high without safety equipment |
| Boot near valley or ridge | No | Complex flashing integration needed |
| Multiple boots failing | No | May indicate broader aging — get full inspection |
Choosing the Right Replacement Boot
When replacing a failed vent boot, material selection matters for longevity in Savannah's climate. Standard rubber EPDM boots (the most common) last 8-12 years before UV degradation causes cracking. Thermoplastic (TPO) boots offer 15-20 year life but cost 2-3x more. For maximum durability, consider a two-piece aluminum/rubber hybrid boot that uses a metal base flashing with a replaceable rubber gasket — the metal portion lasts the life of the roof while the $15 rubber insert can be swapped in minutes every 10-12 years.
Signs Your Vent Boot Needs Replacement
Vent boot failure is progressive — it does not happen overnight. Catching the early warning signs prevents the water damage that often costs 10–20 times more than the boot repair itself:
- Cracked or brittle rubber collar: The most obvious sign. From the roof surface or using binoculars from the ground, look at the rubber gasket where it wraps around the vent pipe. If you see visible cracks, splits, or the rubber appears shrunken and pulled away from the pipe, the seal has failed. In Savannah's UV environment, neoprene boots begin showing hairline cracks as early as year 7.
- Visible gaps between boot and pipe: A functioning boot grips the pipe tightly — you should not see daylight between the rubber and the PVC. If the rubber has contracted from heat cycling and UV degradation, a gap develops that acts as a funnel, directing rainwater straight down the pipe and into your ceiling cavity.
- Ceiling stains below bathrooms or kitchens: Brown water stains on ceilings directly below vent pipe locations are the most common symptom homeowners notice first. The stain typically appears as a circular or oval discoloration, often with a subtle ring pattern from repeated wet/dry cycles. If the stain is directly below a bathroom or kitchen — where plumbing vents penetrate the roof — the boot is the prime suspect.
- Water streaks on vent pipes in the attic: During or after rain, check the attic. Shine a flashlight on each PVC vent pipe where it passes through the roof deck. Water streaking down the outside of the pipe is definitive evidence of boot failure. You may also see staining or moisture on the decking immediately surrounding the pipe penetration.
- Rust on the metal boot base: The metal flange that sits flat on the roof surface under the shingles can corrode over time, particularly in coastal areas near Tybee Island and Wilmington Island where salt air accelerates oxidation. Rust holes in the base flange allow water entry even if the rubber collar is intact.
When to Call a Professional
The DIY retrofit collar approach works well for single-story homes with low-pitch roofs and one clearly identified failing boot. However, several situations demand professional intervention:
- Multi-story homes: Working on a two or three-story roof without professional fall protection equipment is extremely dangerous. The height, combined with Savannah's frequent morning dew that makes shingle surfaces slick, creates unacceptable fall risk for untrained homeowners. A professional roof repair crew arrives with harnesses, anchor points, and training for working at height.
- Multiple failing boots: If two or more vent boots are cracked, it indicates the boots were installed at the same time and have aged together. Rather than retrofitting each one individually, a professional can replace all boots during a single service call — more efficient and ensures consistent quality. Multiple boot failures may also indicate your roof is approaching the age where a comprehensive roof inspection is warranted.
- Active interior leaks: If water is actively dripping through your ceiling, the damage may have already extended beyond the boot itself. The decking around the penetration may be rotted, the insulation may be saturated, and mold may be developing in the ceiling cavity. A professional assessment determines the full scope of damage and prevents you from sealing over a problem that needs structural repair.
- Steep roof pitch (8:12 or greater): Any roof pitch above 8:12 is unsafe for homeowners without professional roofing shoes and safety harnesses. Many Savannah homes, particularly those in historic neighborhoods and custom builds, feature steep roof pitches that make DIY work dangerous.
- Boot located near complex roof features: Vent pipes near valleys, ridges, dormers, or chimneys involve complex flashing integration. A retrofit collar may not seal properly in these areas because water flow patterns are more complex. Professional installation ensures the boot integrates correctly with surrounding flashing systems.
Professional vent boot replacement in the Savannah area typically costs $175–$400 per boot, including materials and labor. When you consider that a single unrepaired boot leak can cause $2,000–$8,000 in ceiling, insulation, and mold damage over a single rainy season, the math strongly favors prompt professional repair whenever DIY is not clearly safe and appropriate.